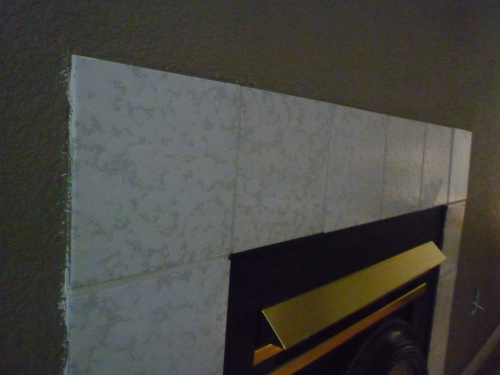
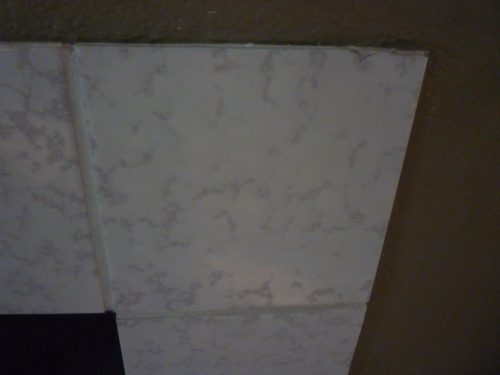
One project we’ve been eager to get started on is making over our fireplace by replacing the tile and building a new mantel. The original fireplace-surround tile was a gray/white ceramic that didn’t complement our new color scheme. We kicked off the makeover process tonight by removing this old tile.
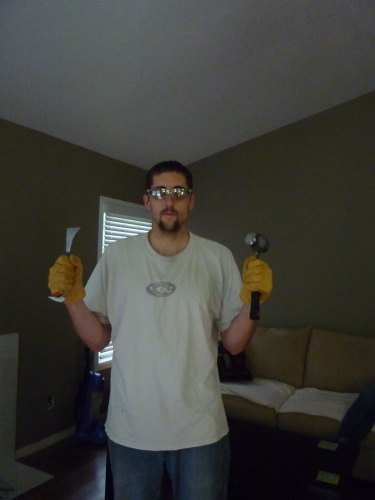
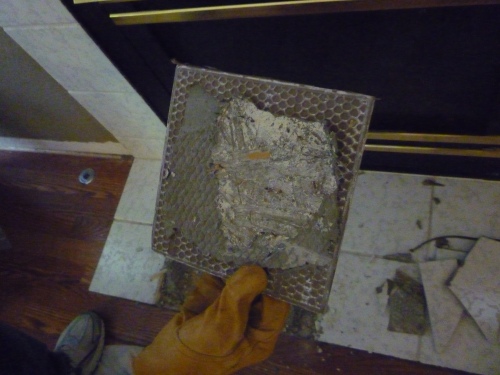
Blake put on his safety glasses and gloves, and *gasp* a non-green shirt, and bam! He transformed into a tile demo-ing ninja. Here’s the photodocumented mayhem that ensued:
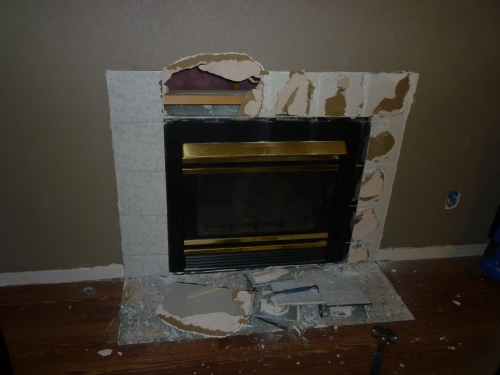
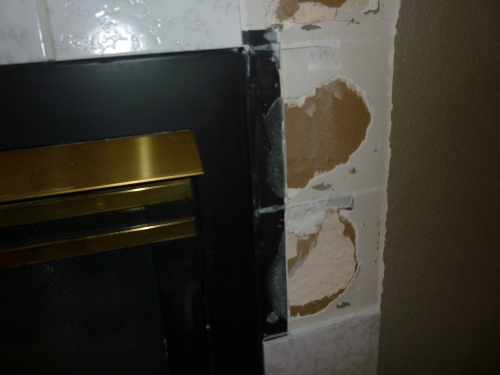
Some of the tile was cemented a little too well to the drywall, taking some of the wall with it when we removed it
We’re going to install hardibacker, which is basically a foundation for the tile to adhere to. Then we’ll install the new tile, which we’ve already picked out. After that we’ll build a full-surround white mantel out of wood and MDF, sand down the brass on the fireplace screen and paint it black with high heat spray paint.
This is a post of few words….there’s really not much to say about the demolition of the old tile. Actually, I just could have posted all these pictures with some sound effects of man-grunting and hammering and you’d be sufficiently enlightened on how it all went down.



2 thoughts on “Mantel Overhaul Part I: Out with the old tile”